
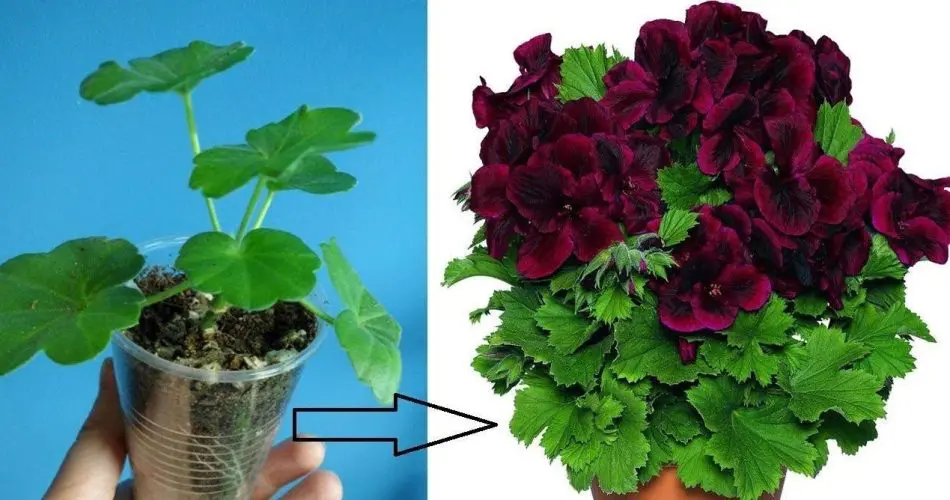
Do you dream of transforming your modest balcony geranium into a lush cascade of vibrant flowers? With a simple yet rewarding technique, you can propagate countless new plants from just one existing specimen. Let’s delve into the fascinating world of geranium propagation and unlock the potential of your green space.
**Step 1: Proper Preparation**
Before diving into the propagation process, ensure that your tools are clean and ready. Disinfect your scissors thoroughly to prevent any potential contamination. This simple step lays the foundation for healthy new growth.
**Step 2: Selecting and Cutting the Stem**
Identify a healthy stem on your geranium plant, ideally with several sets of leaves. With your disinfected scissors, make a clean cut, leaving approximately two centimeters of stem below the node. This node is where the magic happens, as it contains the potential for root development.
**Step 3: Potting Medium and Activated Charcoal**
Prepare your pots or containers with a well-draining potting mix, preferably a universal blend. Enhance the soil with a tablespoon of activated charcoal, known for its ability to absorb impurities and promote soil health. This addition will create an optimal environment for root formation.
**Step 4: Rooting Hormone Application**
Dip the cut end of your geranium stem into a rooting hormone powder. If you don’t have access to commercial rooting hormone, fear not – cinnamon, a common household spice, can serve as a natural alternative. The hormone or cinnamon will encourage root growth, facilitating the establishment of new plants.
**Step 5: Planting and Enclosure**
Carefully insert the prepared stem into the potting medium, ensuring that at least one node is buried beneath the surface. To create a greenhouse-like environment conducive to root development, cover the planted stem with a plastic bag or dome. This enclosure will maintain humidity levels, mimicking the conditions of a nursery.
**Step 6: Patience and Observation**
Place your newly potted geranium cuttings in a warm, well-lit area, away from direct sunlight. Over the next few weeks, exercise patience as the magic unfolds beneath the soil. Around the 20-day mark, be prepared to witness the emergence of delicate roots from the buried nodes. This milestone signals the successful establishment of your propagated geraniums.
By following these straightforward steps, you can unlock the potential of your geranium plant, transforming a single specimen into a flourishing garden of abundance. Whether you’re a seasoned gardener or a novice enthusiast, the art of propagation offers endless opportunities to expand your green oasis. Embrace the journey of nurturing new life and revel in the beauty that unfolds before your eyes.