
Orchids are not just plants; they are exquisite pieces of nature that can transform any space into a haven of beauty and elegance. If you are enchanted by these delicate blooms and wish to adorn every corner of your home with them, you don’t necessarily have to rely solely on your local florist. In fact, there are effective techniques that allow you to propagate your orchids by cultivating new shoots, creating a flourishing orchid haven right at home. Let’s delve into the captivating world of orchid reproduction with a simple yet effective method that is both cost-efficient and easy to follow.
Understanding the Art of Orchid Reproduction
The realm of gardening thrives on clear guidelines that, when followed diligently, yield exceptional results. To embark on your orchid propagation journey, you must possess a green thumb and nurture your plants from start to finish.
The Viral Method Unveiled
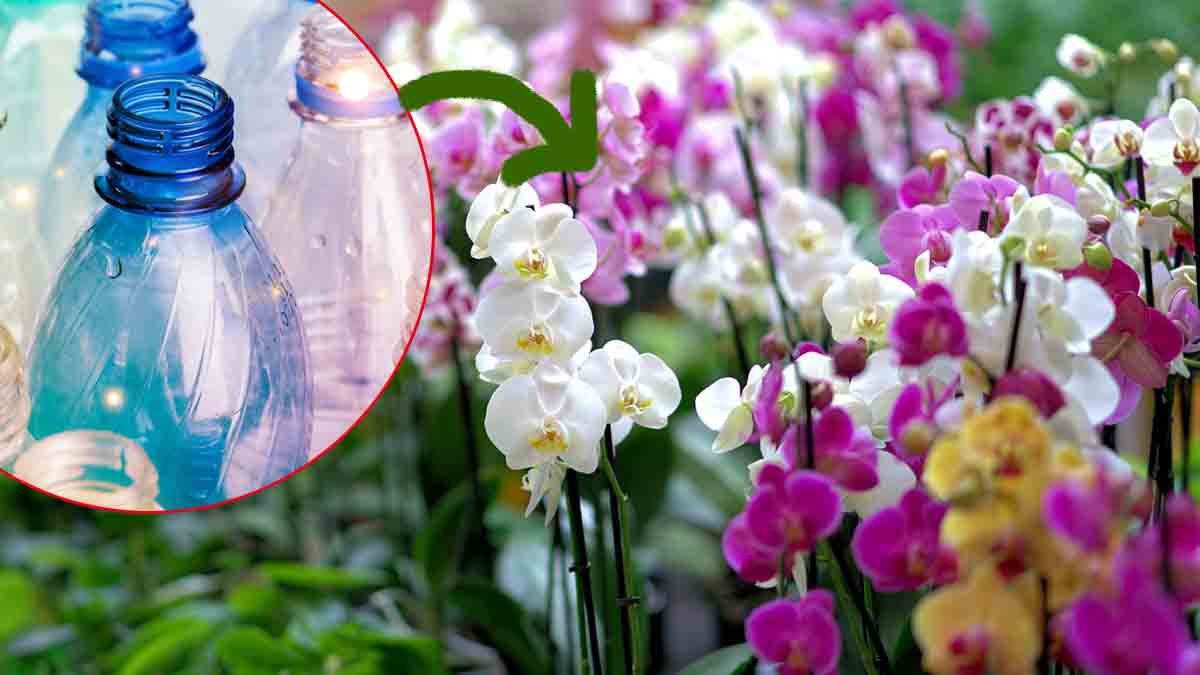
Orchids stand out as some of the most stunning decorative plants, exuding an aura of elegance and charm. The method we are about to explore focuses on reproducing orchids using plastic bottles, emphasizing proper care of the cuttings. Cuttings are plant fragments taken from the mother plant and placed in water or soil to sprout into new plants.
Step 1: Gather Your Materials
Begin by acquiring a 2-liter plastic bottle. Cut off the top portion while leaving a hinged section for easy opening and closing. Next, create holes in the lid and along the side to allow air circulation when closed.
Step 2: Prepare the Cuttings
Select two cuttings measuring at least 10 centimeters in length, just below a node where there are unstable roots. Cover the base of the cuttings with moist moss and secure them in place with a rubber band or tape. Insert the prepared cuttings into the base inside the bottle and seal it shut.
Step 3: Create a Mini Greenhouse
The objective is to create a mobile greenhouse to nurture your new orchids. Choose a bright location with indirect sunlight and ample humidity. After about two weeks, the cuttings will develop roots, indicating they are ready for planting.
Step 4: Planting Your Orchids
Choose a medium-sized pot filled with well-draining orchid potting mix. This specialized mix promotes healthy root growth and overall plant vigor, ensuring your orchids thrive in their new environment.
Step 5: Care and Maintenance
Orchids thrive in temperatures above 15 degrees Celsius and require watering only when the soil is dry. Fertilize the soil with a specific orchid fertilizer to provide essential nutrients for optimal growth and flowering.
Conclusion: Cultivate Your Orchid Paradise
Now, armed with knowledge and a bit of patience, you are well on your way to creating a home filled with flourishing orchids. By following these steps and providing the right care, you can enjoy the enchanting beauty of orchids blooming in every corner of your abode, adding a touch of natural elegance to your living space. Unlock the magic of orchid reproduction and let nature’s beauty blossom in your home!