Chili peppers, with their fiery heat and vibrant colors, add a punch of flavor to countless dishes and cuisines around the world. If you’re a fan of these spicy delights, why not grow your own chili peppers at home? Even if you have limited outdoor space, growing chili peppers in pots is a convenient and rewarding option that allows you to enjoy fresh, homegrown peppers whenever you need them. In this comprehensive guide, we’ll show you how to grow chili peppers in pots and bid farewell to store-bought peppers for good.
Step 1: Selecting the Right Pepper Variety
Before you begin, consider which chili pepper variety you’d like to grow. There are countless varieties to choose from, each with its own unique flavor profile and heat level. Some popular options include jalapeños, serranos, habaneros, and Thai bird’s eye chilies. Choose a variety that suits your taste preferences and culinary needs.
Step 2: Choosing the Perfect Pot
Selecting the right pot is crucial for successfully growing chili peppers. Opt for a large, sturdy pot with ample drainage holes to prevent waterlogging. A pot with a diameter of at least 12 inches is recommended to accommodate the chili pepper’s root system. Additionally, choose a pot with a saucer or tray to catch excess water and prevent messes.
Step 3: Preparing the Potting Mix
Fill the pot with a high-quality potting mix formulated for vegetables or peppers. Avoid using garden soil, as it may contain pests, diseases, or weed seeds. You can also add a handful of compost or well-rotted manure to the potting mix to provide additional nutrients for your chili peppers.
Step 4: Planting Your Chili Peppers
Once your pot is filled with potting mix, it’s time to plant your chili peppers. Start by moistening the potting mix slightly to make it easier to work with. Then, gently remove the chili pepper seedlings from their nursery containers and plant them in the center of the pot, spacing them at least 6 to 8 inches apart. Ensure the top of the root ball is level with the soil surface and gently firm the soil around the seedlings.
Step 5: Providing Optimal Growing Conditions
Chili peppers thrive in warm, sunny conditions, so choose a location for your pot that receives at least 6 to 8 hours of sunlight per day. If growing indoors, place the pot near a south-facing window where it will receive ample sunlight. Additionally, ensure the pot is placed in a location protected from strong winds and cold drafts, as chili peppers are sensitive to temperature fluctuations.
Step 6: Watering and Fertilizing
Water your chili peppers regularly to keep the soil evenly moist but not waterlogged. Allow the top inch of soil to dry out between waterings, and water deeply whenever the soil feels dry to the touch. Additionally, fertilize your chili peppers every 2 to 4 weeks with a balanced fertilizer formulated for vegetables or peppers to promote healthy growth and fruit production.
Step 7: Harvesting Your Chili Peppers
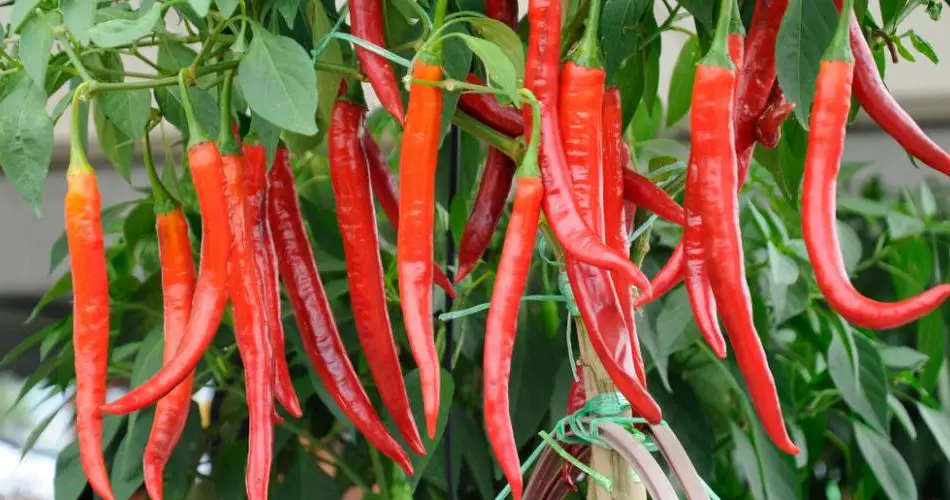
As your chili peppers mature, they will gradually change color and develop their characteristic heat level. Harvest ripe peppers by gently twisting them from the stem when they reach the desired color and size. Be sure to wear gloves when handling hot peppers to protect your skin from irritation. Harvesting your peppers regularly will encourage the plant to produce more fruit throughout the growing season.
Conclusion
Growing chili peppers in pots is a rewarding and enjoyable experience that allows you to enjoy fresh, homegrown peppers whenever you need them. By following these steps and providing your chili peppers with the right growing conditions, you can say goodbye to store-bought peppers and hello to a bountiful harvest of spicy delights right at your fingertips. Whether grown on a sunny balcony, patio, or windowsill, your chili pepper plants are sure to spice up your space and your culinary creations.